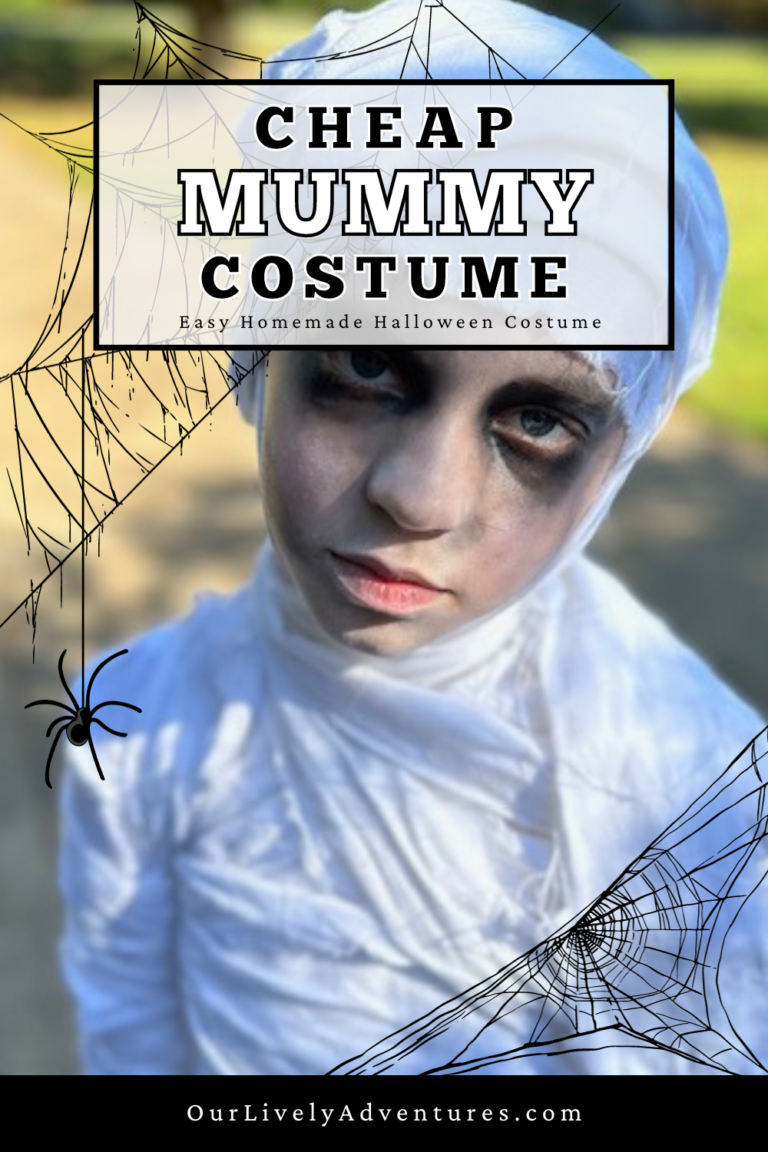
What comes to mind when someone mentions Halloween? Pumpkins, Bats, Ghosts…and Mummies, right?
I’m still into making random Halloween costumes for my kids. The latest is a DIY Mummy costume. I love how it turned out.
It’s super simple, super cheap, and super cute. My favorite thing about the whole thing was that it came together in just under an hour. I’m talking from the moment I started cutting strips of white sheets to the finished product in less than 60 minutes.
It’s the perfect costume for a last-minute costume party or you just want a simple, but still very cute Halloween costume for trick-or-treating!
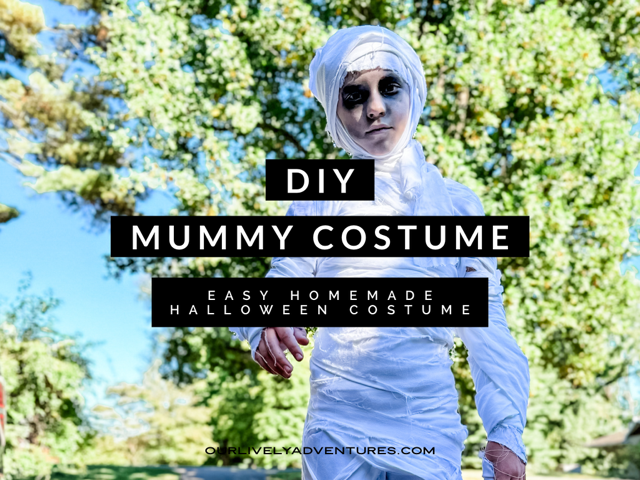
DIY Mummy Costume
Things To Note
The costume pictured was assembled just for the picture, NOT to be worn for an extended period of time. If I were to make this for a party or trick-or-treating I would make sure it was bathroom accessible (explained below). Making it bathroom accessible shouldn’t change the look, but in case you were wondering when you looked at the pictures.
For a more “aged” look, soak the strips in coffee or tea, allow the strips to dry, then assemble.
The more frayed the edges of the strips the better, in my opinion.
Any white fabric will do! Sheets, curtains, old white t-shirts, cheesecloth, etc. Take a look around your house and see what might work.
If you don’t already have large white pieces of fabric at home, check yard sales, garage sales, and consignment shops for the least expensive options.
Supplies
White pants
White shirt
White fabric (bed sheets, towels, shirts, etc.)
White socks
White face paint/makeup
Black Face paint/makeup
Safety pins
Hot glue
Steps
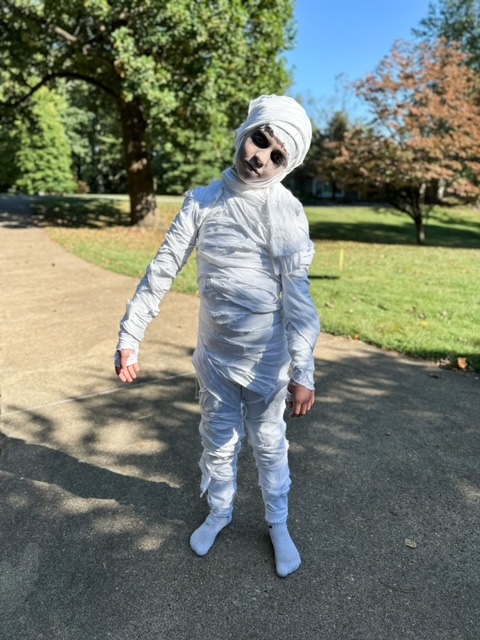
Make the white strips. Cut or rip strips of a white sheet. I made a small cut to get started then ripped the strip the rest of the way. I really like how ripping it gives it more of a messy edge. For reference, we used 1 standard full bedsheet and used almost all of it.
Connect the strips. Use hot glue to connect the strips together. Sewing is an option too. However, my gift is with a hot glue gun, not a sewing machine.
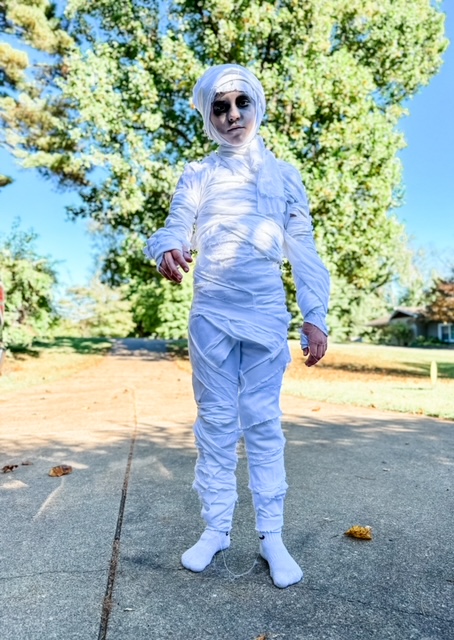
Base Layer. Put on the white socks, white pants, and white shirt. Having white as a base layer underneath makes it so you don’t need as much wrapping.
Wrap The Mummy. Begin wrapping around the legs. Again, if you are planning on wearing this costume for any length of time you want to make sure it’s bathroom accessible. To do this, don’t wrap the legs too tight, and use safety pins to secure the strips to the pants occasionally as you are wrapping. Make sure you can pull your pants down!!
Top Half. Once the pants have been fully covered, begin wrapping the top half of the body. Use a separate piece of cloth, not a piece connected to the pants. You can secure the wrapping to the shirt too if you want or just wrap and wrap and wrap.
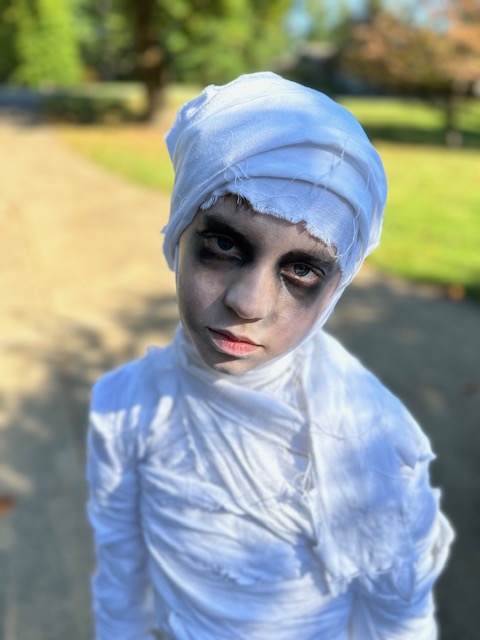
Makeup Time. Finally, add the face paint. I used a mixture of white face paint and black makeup. You really can’t go wrong with this. Pale skin, dark sunken eyes, basically the opposite of what you want any other day of the year!
More DIY Halloween Costume Ideas
Need more DIY inspiration? Here are a few of my favorite DIY Halloween costumes…