Easy DIY Halloween Planter: Upcycled Baby Doll

Easy DIY Halloween Planter: Upcycled Baby Doll

Hi, friends!  I have the absolute cutest Halloween craft for you today. It’s an easy DIY Halloween planter made from an old baby doll. Some may argue that it leans more towards creepy than cute, but I think its the perfect balance.  

I first saw something similar on Tiktok and just knew I had to recreate it.  It’s so fun to see the creative things people come up with.  I can spend hours scrolling HalloweenTok and never get bored! 

The best part about this whole project is that it hardly costs anything.  Especially if you have baby dolls lying around that are no longer played with  – your only expense will be spray paint.  

I’ve got step-by-step instructions for you below.  Take a look and let me know what you think!

Check out all the Halloween fun HERE!! 

How To Make A DIY Halloween Planter

Supplies Needed For Upcycled Baby Doll Planter

  • Baby Doll
  • Spray Paint
  • Saucer
  • X-ACTO Knife/Box Cutter
  • House Plant
  • Potting Soil

The Process...

First things first, find a “forgotten babydoll”. You know, the doll that’s been living in the back of the closet for the past few years.  You definitely don’t want to use one that has sentimental value.

Things to think about when choosing a doll: 

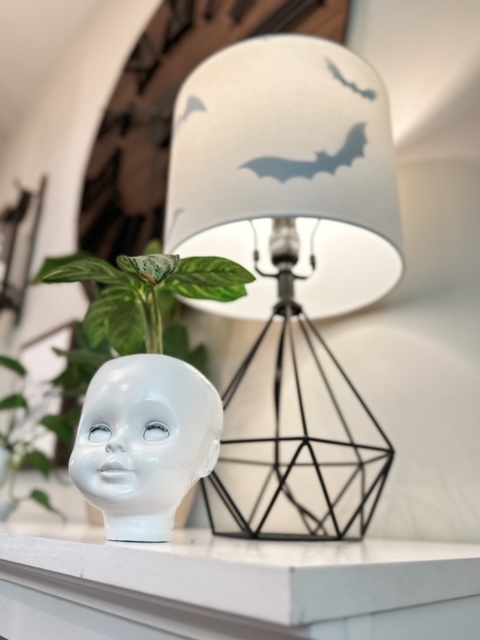
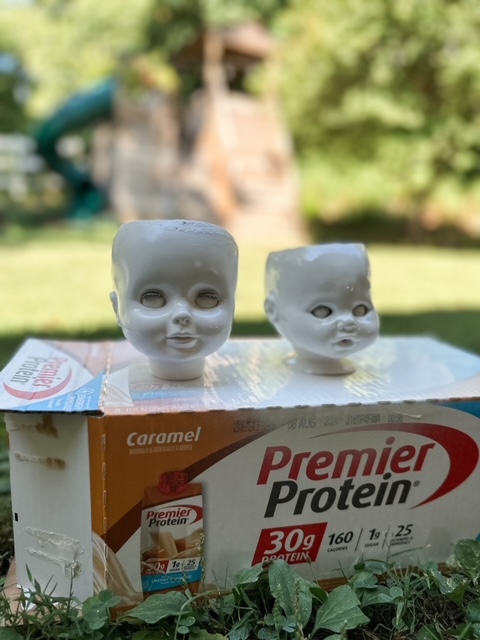
1. Plant Size.  Plant size will determine the size of head you need.  Make sure the head is large enough to accomade the amount of soil needed for the plant you want to pot up. 

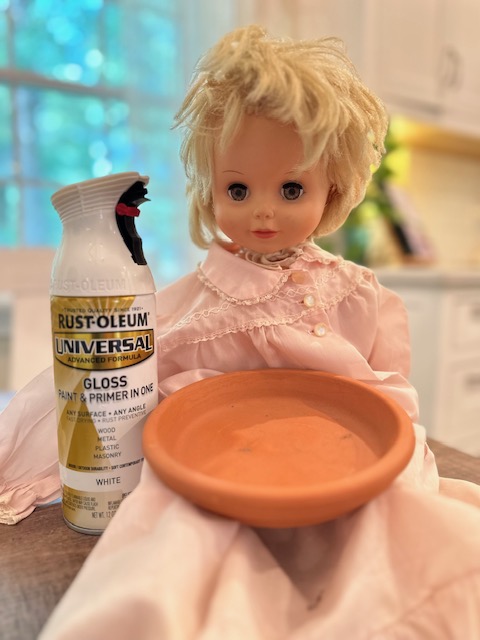
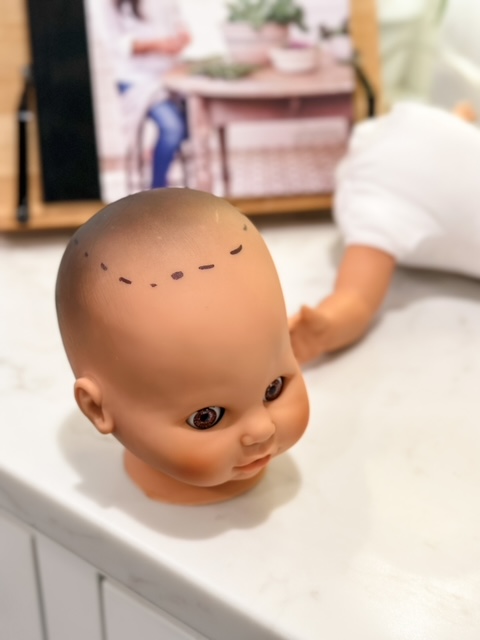
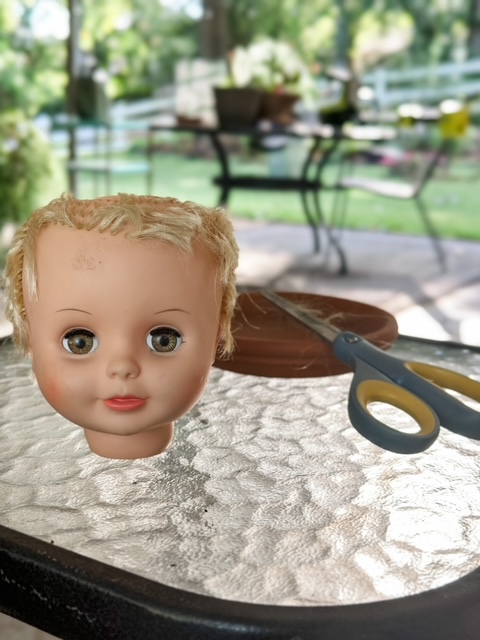
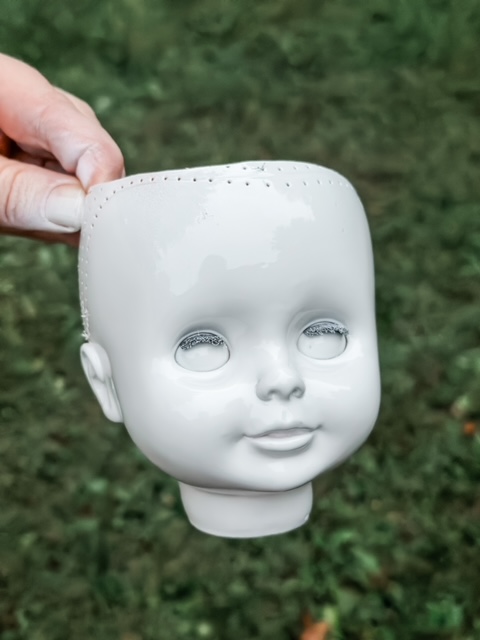
2.  Bald is Best.  Save yourself the struggle and try to use a baby without hair.  I started with a doll with hair and it wasn’t great.  It takes forever to pluck out the hair and then you are left with tiny holes. I used modge podge to lessen the look of the holes a bit, but I’m sure there is something out there that would work better. 

DIY Halloween Planter
Once the doll is selected, go ahead and pop its head off. 
 

Next, cut a hole in the top of the head. I found it helpful to draw a line where I wanted the hole to be before I started cutting.  Use a box cutter or an X-ACTO knife to make the hole. 

Once the hole is cut, prep the head for paint. Wown with a damp cloth to make sure the surface is clean.  Give it a couple of coats of spray paint and allow it to dry.  
You can see in the pictures below the difference between a bald baby and a baby that had its hair removed.  This is before I covered the holes with Modge Podge.  I wanted to give it a coat of paint to see how obvious the holes were.  Once I covered with Modge Podge I allowed the Modge Podge to dry then gave it another coat of paint.  The holes are still visible, but not as much. 
The final step is to add soil and your plant of choice.  I put a coffee filter in the bottom before the soil to help prevent anything from falling out the bottom. 


DIY Halloween Planter

This Post Has 7 Comments

  1. Beth

    This might be the creepiest thing I’ve ever seen. I LOVE IT!

  2. Gosh, this looks so scary! It’s absolutely perfect for Halloween fest. I’ll try making this creepy baby doll planter 😃!

  3. Karen

    The planter is so so cool, perfect for the season and it is very elegant. I love it!

  4. Sue-Tanya Mchorgh

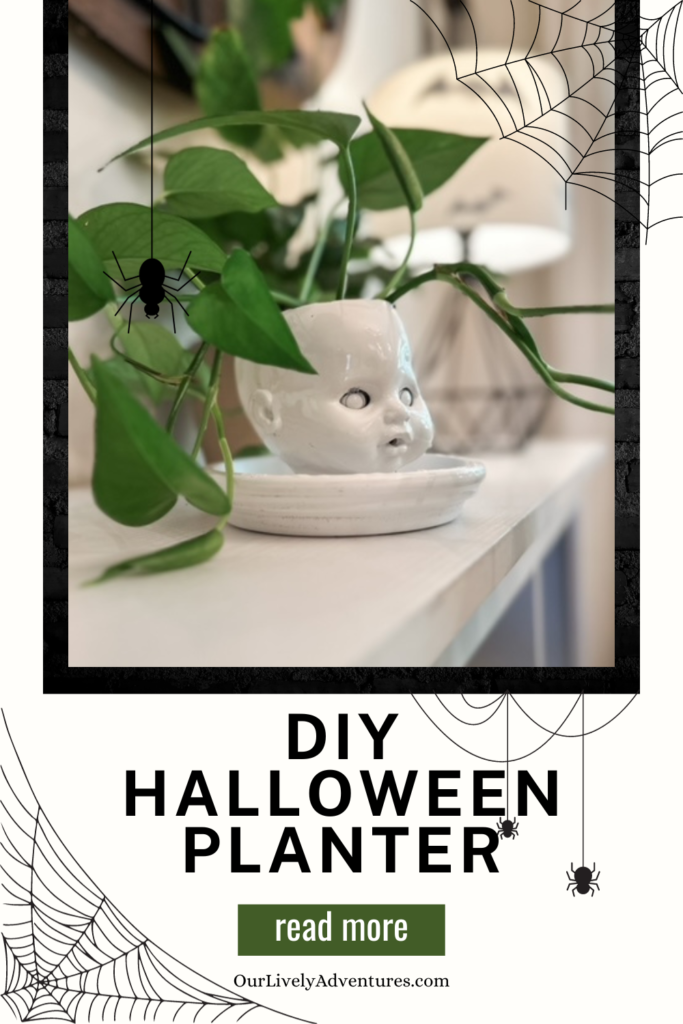
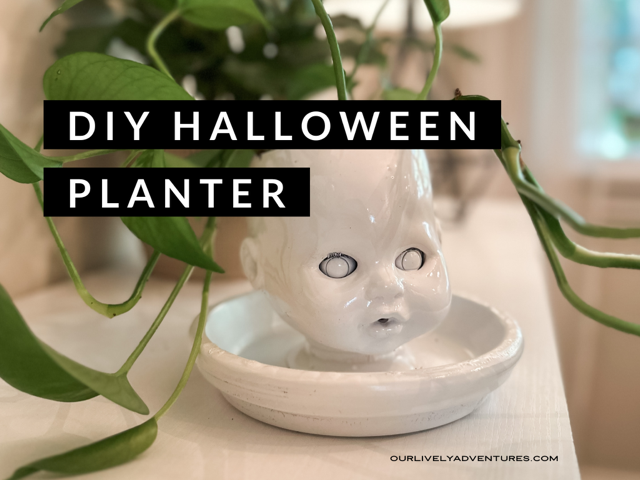
    This DIY Halloween planter made from an old baby doll is such a clever and unique idea! It definitely strikes a perfect balance between cute and creepy, making it an ideal Halloween decoration. Plus, the fact that it’s budget-friendly is a big win. Thanks for sharing this creative and fun project!

  5. Laura

    That is a VERY scary looking planter. LOL something about these baby dolls that is so freaky!

  6. so cool your idea of diy & upcycle here, absolutely helpful. I’m gonna upcycling one of my old toy to making this. cheers SiennyLovesDrawing

  7. Monidipa

    Your DIY Halloween planter from an old baby doll is a fantastic idea! It’s a unique and creative project that adds a spooky yet playful touch to Halloween decor. Your step-by-step instructions make it easy for anyone to try. Thanks for sharing this fun and budget-friendly craft!

Leave a Reply