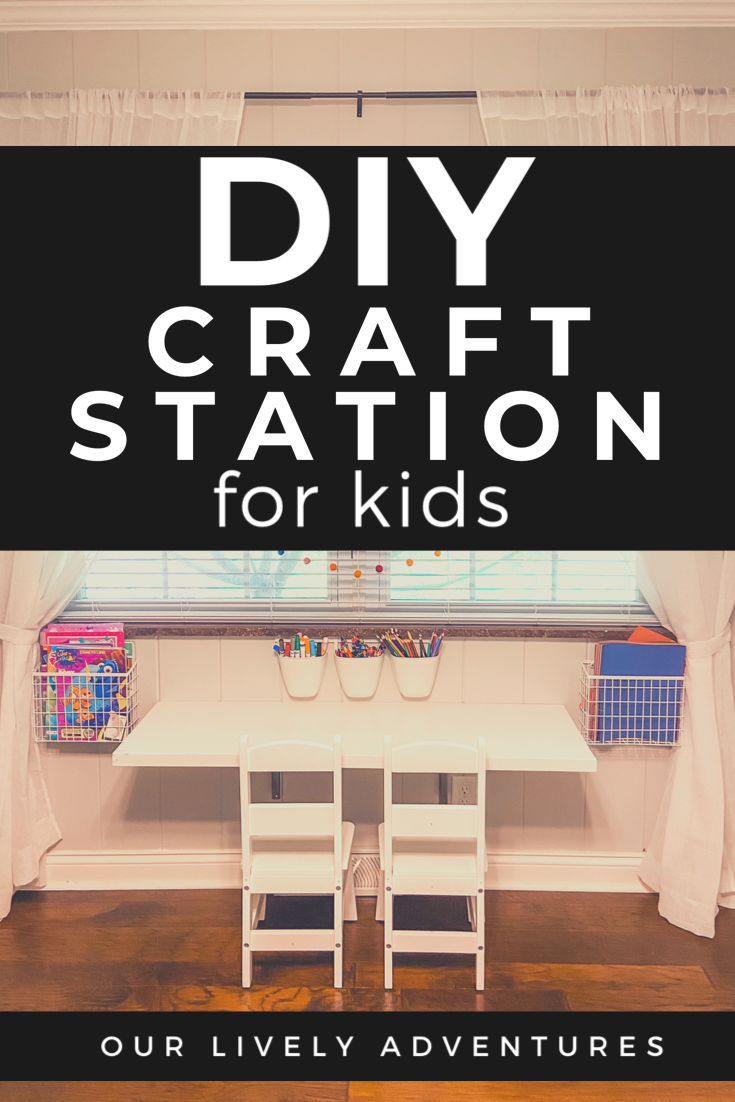
I am so excited! Today I am sharing the Kid’s Craft Station I put together for Wyatt & Reese. This project was so fun to work on and was relatively inexpensive.
I love being crafty, always have. I hope my kids will enjoy being crafty and creative as well. So far, so good! Both of them jump at the chance to dig into the art supplies, which is why I created a dedicated space for them to have fun.
Our most recent craft projects include these Easy Pumpkin Crafts and DIY Bird Feeders. We can amp up our craft projects now that we have a dedicated crafting space.
Kid's Craft Station Inspiration
Our preschool has a wonderful craft area. For example, everything is accessible to the kids. Stickers, markers, tape, glue, scraps of paper, etc. all at kid-level. I love that the kids are given the independence to just walk up and create.
My hope was to create a space similar to the craft station at our preschool.
DIY Kid's Craft Station
(Contains affiliate links)
I knew that I couldn’t (and shouldn’t) duplicate this craft area completely being the realistic and practical person that I am (pats self on back). There are several reasons this couldn’t happen:
My home is not set up like preschool. Preschool has specific times that kids are scheduled to play in certain areas. This drastically reduces the potential for gigantic messes. My house is open 24/7 with no staff.
I know myself and I could not handle little paper scraps all over the place. They weren’t all over the place at preschool because, as I just mentioned, there are only kids in their during certain times. Again, my house is open 24/7 with no staff.
I am not interested in constantly supervising a craft station in my home, therefore scissors and glue will not be readily available anytime soon. Maybe someday I will trust my kids to work with these things independently, but today is not that day (and neither is tomorrow).
While I couldn’t duplicate the preschool craft space completely, what I could duplicate was a space for my kids to create. So, that’s exactly what I did. Now they have a space with easy access to age-appropriate crafts anytime they want. Coloring and drawing are at their fingertips. Our new “crafting space” is where all of our crafts are done, which (bonus) keeps the mess off of my kitchen table.
Location! Location! Location!
This entire project went in phases. Phase one was the easiest – find a location. I chose our office area. The office is right off the kitchen. It’s close enough for me to have a pretty good idea of what is going on in there at all times.
Craft Station Desk & Chairs
The desk and chairs were the most difficult part of this whole project. Finding a workspace that was big enough to accomodate crafts, but not so big that it looked out of place in the room was tricky.
After that, it was time to decide the color. Easy peasy, I knew I wanted white. White blends in best with the current design of the room PLUS white just feels clean.
My search focused on prebuilt kid’s desks, kid’s picnic tables, and kid’s play tables with no luck. I searched everywhere to no avail. The desks/tables were either too deep, not tall enough, or not long enough. Cost was also a shocking surprise. I couldn’t find anything under $100.
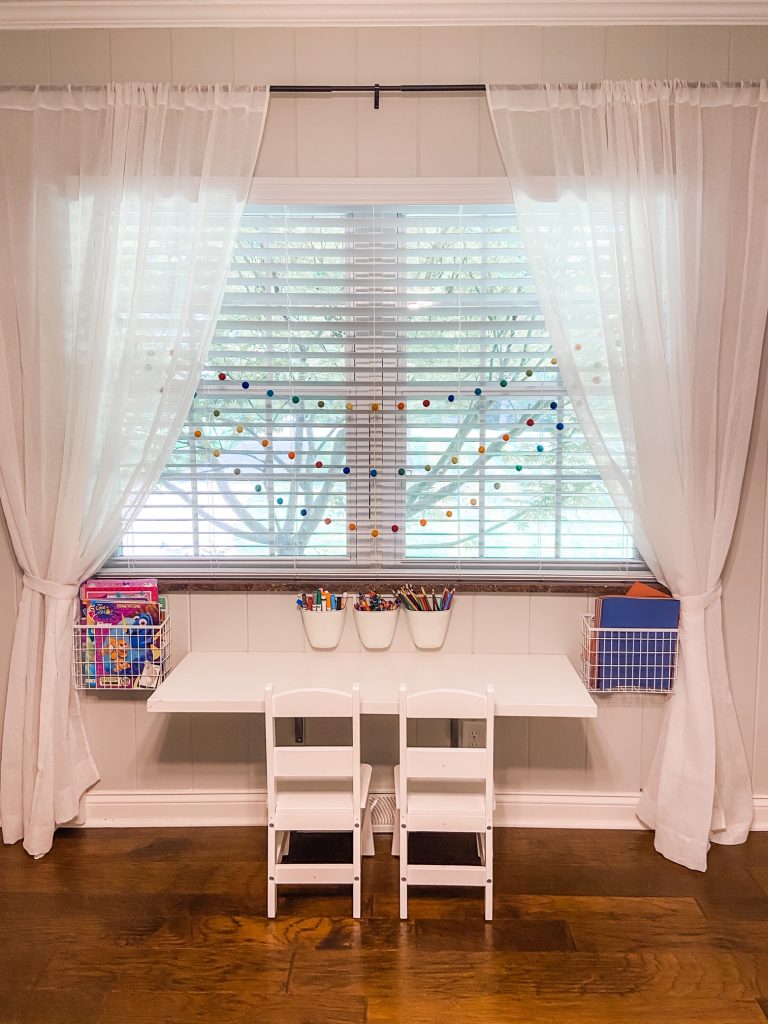
I ended up DIY’ing a workspace using a ClosetMaid prebuilt closet shelf from Home Depot. The shelf holds 50lbs, which is perfect for a kid’s craft station. It also included bracket’s to be mounted to the wall. Eliminating table legs gave the kids more workspace and it made floor clean up so much easier.
After the workspace was chosen, it was time for chairs. I found the chairs on Amazon. They are Melissa & Doug brand, strong and sturdy.
This space needed to be tidy, but it also needed to be practical. First and foremost, the supplies need to be easily accessible and easy to put away. For instance, paper, coloring books, crayons, markers, and colored pencils would be readily available, while the glue, scissors, and paint would be stored in the closet. Afterall, what good is a craft station if it’s never used? My kids are more likely to play with things they can see, so this was super important.
Secondly, this space needs to be be easy to clean. This meant I did not want anything stacked or stored on the desk itself. A wall mounted organizational unit was the only solution.
I bought both the pen, pencil, & marker holder and the paper holders at Hobby Lobby. The paper holders were black and I spray painted them white.
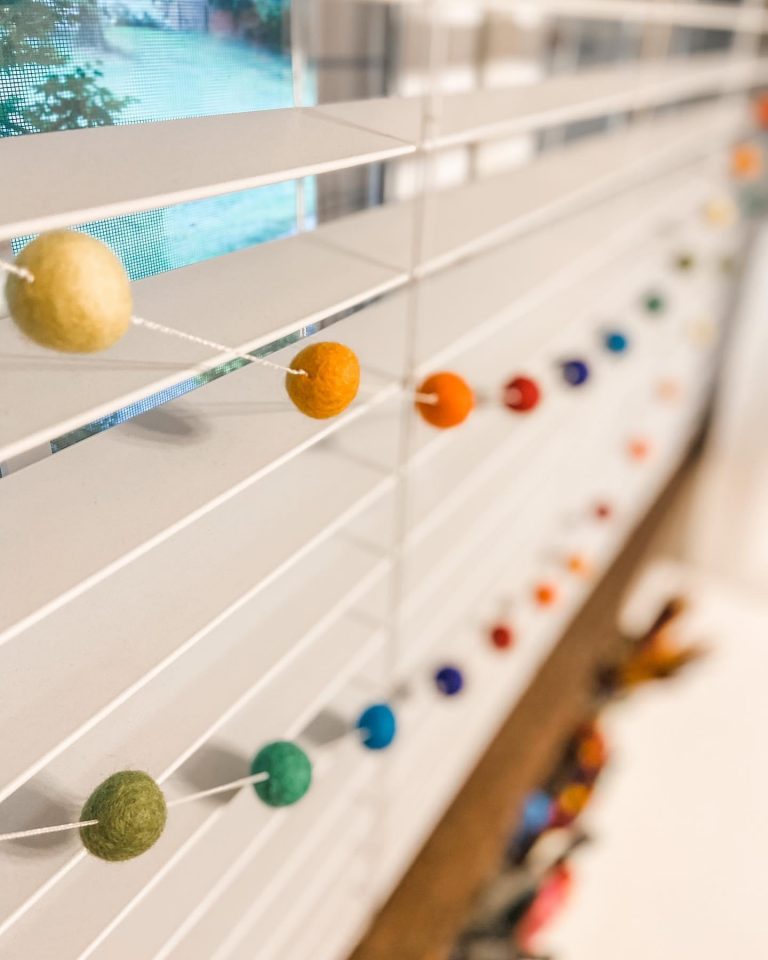
I purchased the felt balls on jane.com. They were the perfect addition. Very subtle, but also very cute.
I found the curtains at At Home. I hang curtains halfway between the ceiling and the window to help make the room feel larger. Because of this, I usually have to purchase curtains that are too long and hem them. Instead of sewing, because I don’t know how to sew, I use an iron-on adhesive. Heat-N-Bond is a sewing alternative that is super easy to use. The scraps cut from the curtains were used for the tie backs.
Products Mentioned:
Felt Ball Garland: I have the “extra long felt garland”, but currently not for sale. This is similar. Here
I hope you enjoyed this fairly simple DIY kid’s craft station! I had a lot of fun putting it together and my kids are having a lot of fun with the finished product. What I took away from this project was to think outside the box when it comes to materials. In other words, if I hadn’t wandered down the shelving aisle at Home Depot I would probably still be in the “draft” stage of this entire project. Oh, and let’s not forget, and out a lot more money!
Please leave any questions or comments in the comment section down below.


Pingback: itemprop="name">DIY Nerf Gun Wall: How To Organize Nerf Guns - Our Lively Adventures
Pingback: itemprop="name">Friday Family Fun Night Ideas: A Summer Full of Fun - Our Lively Adventures